
Complete Beginner Guide
Master the art of tying a tie in just 5 minutes. Learn 4 essential knots: Simple Knot, Half Windsor, Windsor, and Bow Tie — with detailed instructions for complete beginners.
Learning how to tie a tie is easier than you think. This complete guide will teach you:
Who This Guide Is For
Complete beginners, wedding guests, job interview candidates
Time Needed
5-10 minutes per knot (less after practice)
What You'll Need
A tie, mirror, collared shirt
Choose Your Knot
We'll cover the four most useful knots every man should know. Choose based on your occasion and collar type.
| Knot | Difficulty | Best For | Formal Level | Learn |
|---|---|---|---|---|
| Simple Knot | Easiest | Everyday, Casual | Low-Medium | Jump to tutorial ↓ |
| Half Windsor | Medium | Business, Meetings | Medium-High | Jump to tutorial ↓ |
| Windsor Knot | Advanced | Weddings, Formal Events | High | Jump to tutorial ↓ |
| Bow Tie | Medium | Tuxedos, Black-tie Events | Very High | Jump to tutorial ↓ |
Method 1
The Simple Knot (also called "Four-in-Hand" or "Oriental Knot") is the most beginner-friendly. Perfect for daily wear, creates a small, neat knot.
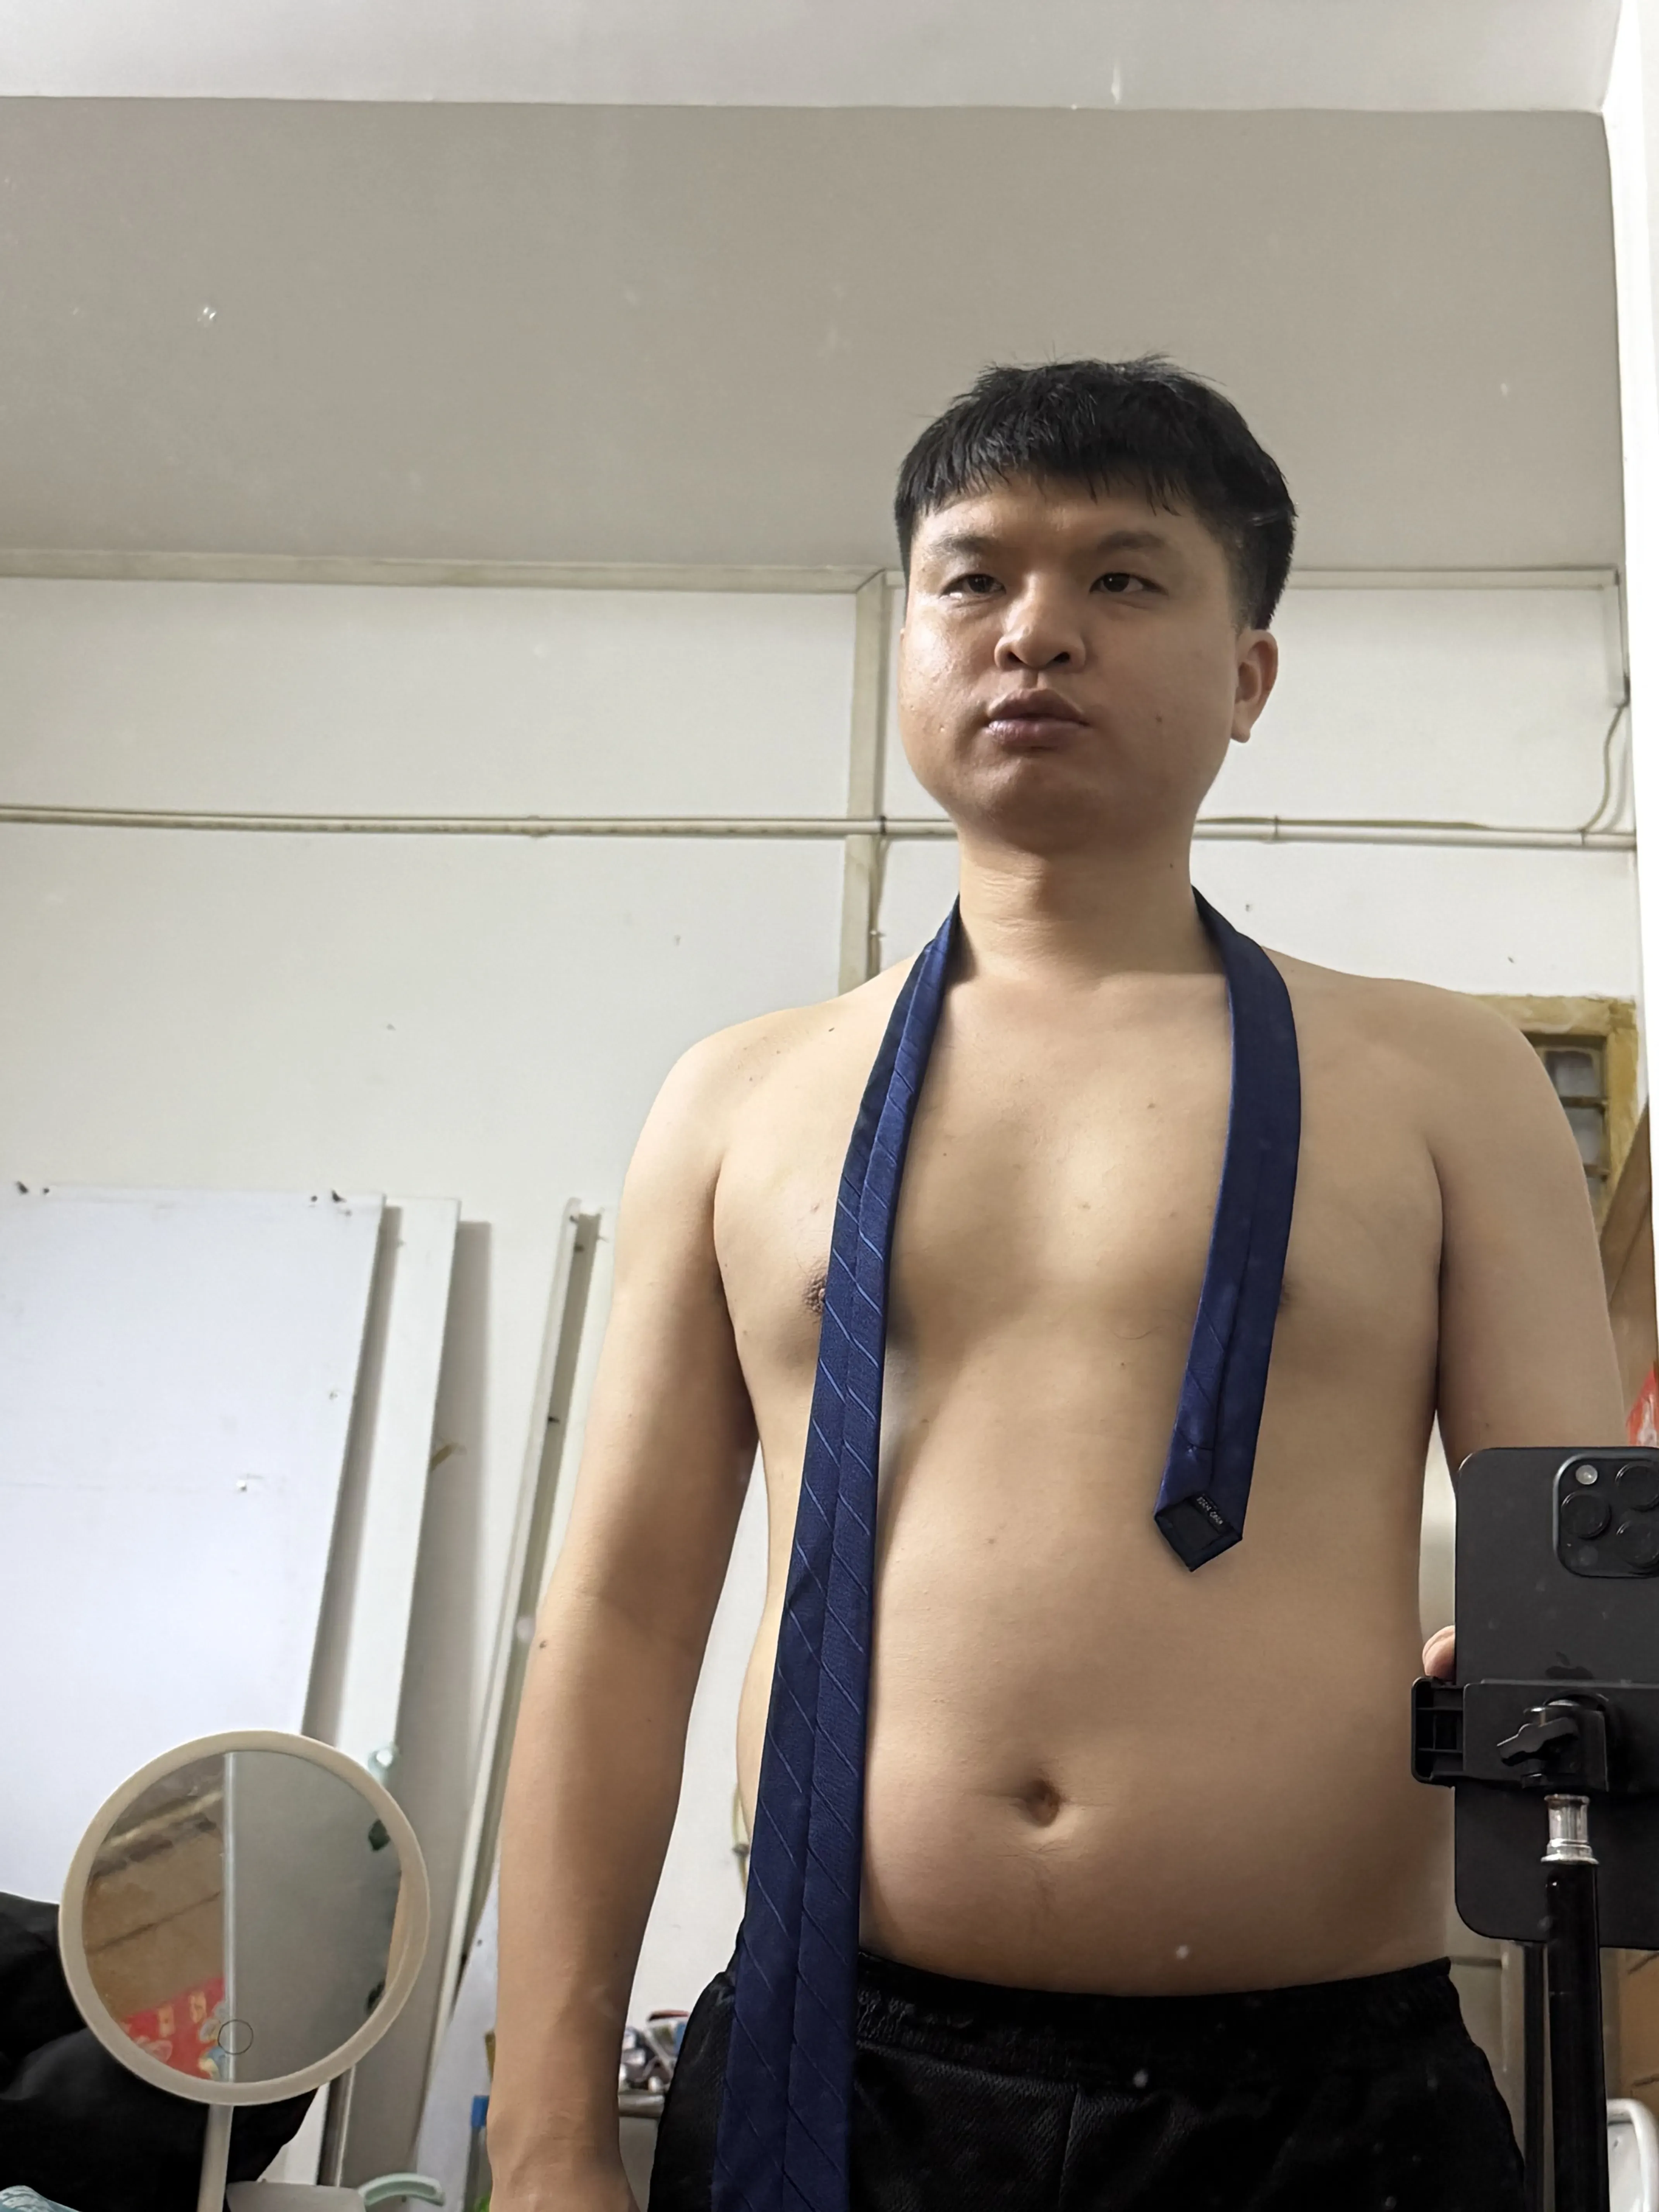
Place the tie around your neck with:
Tip: The wide end needs to be lower because it will wrap around the thin end. If you're tall, start even lower (14-15 inches).
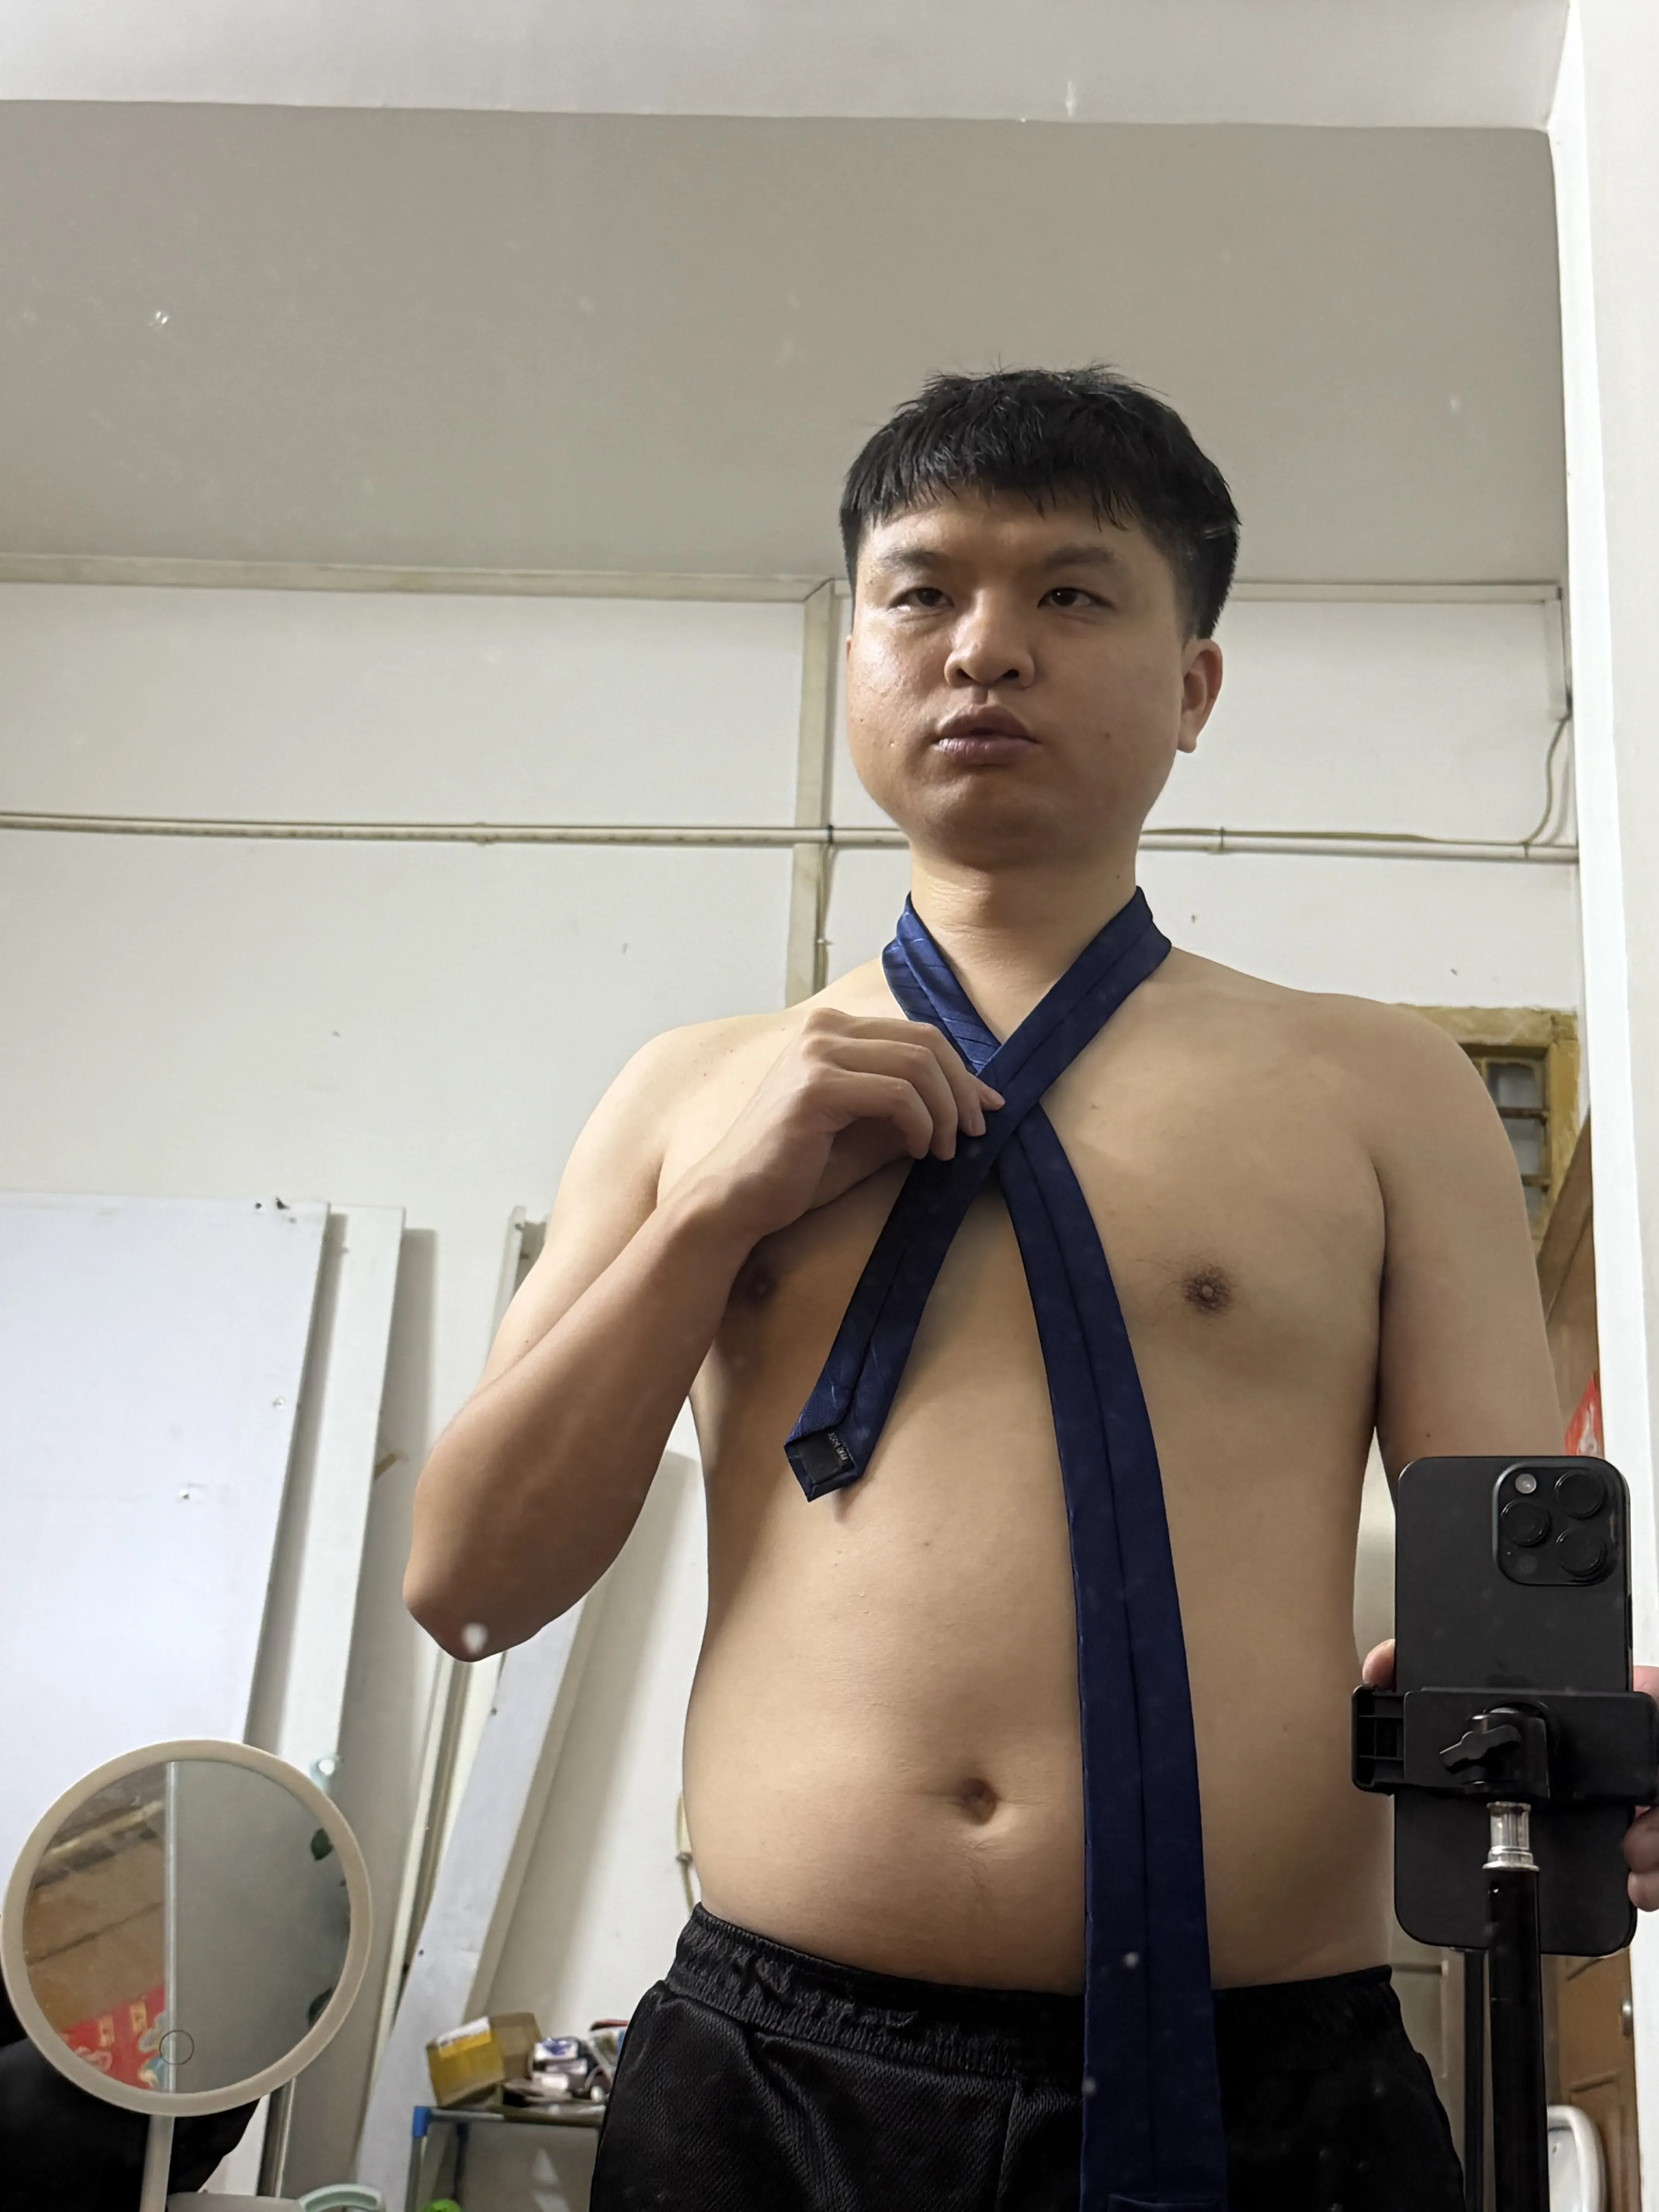
Take the wide end and cross it OVER the thin end.

Key point: The wide end should now be pointing UP, with the seam (back side) facing you.
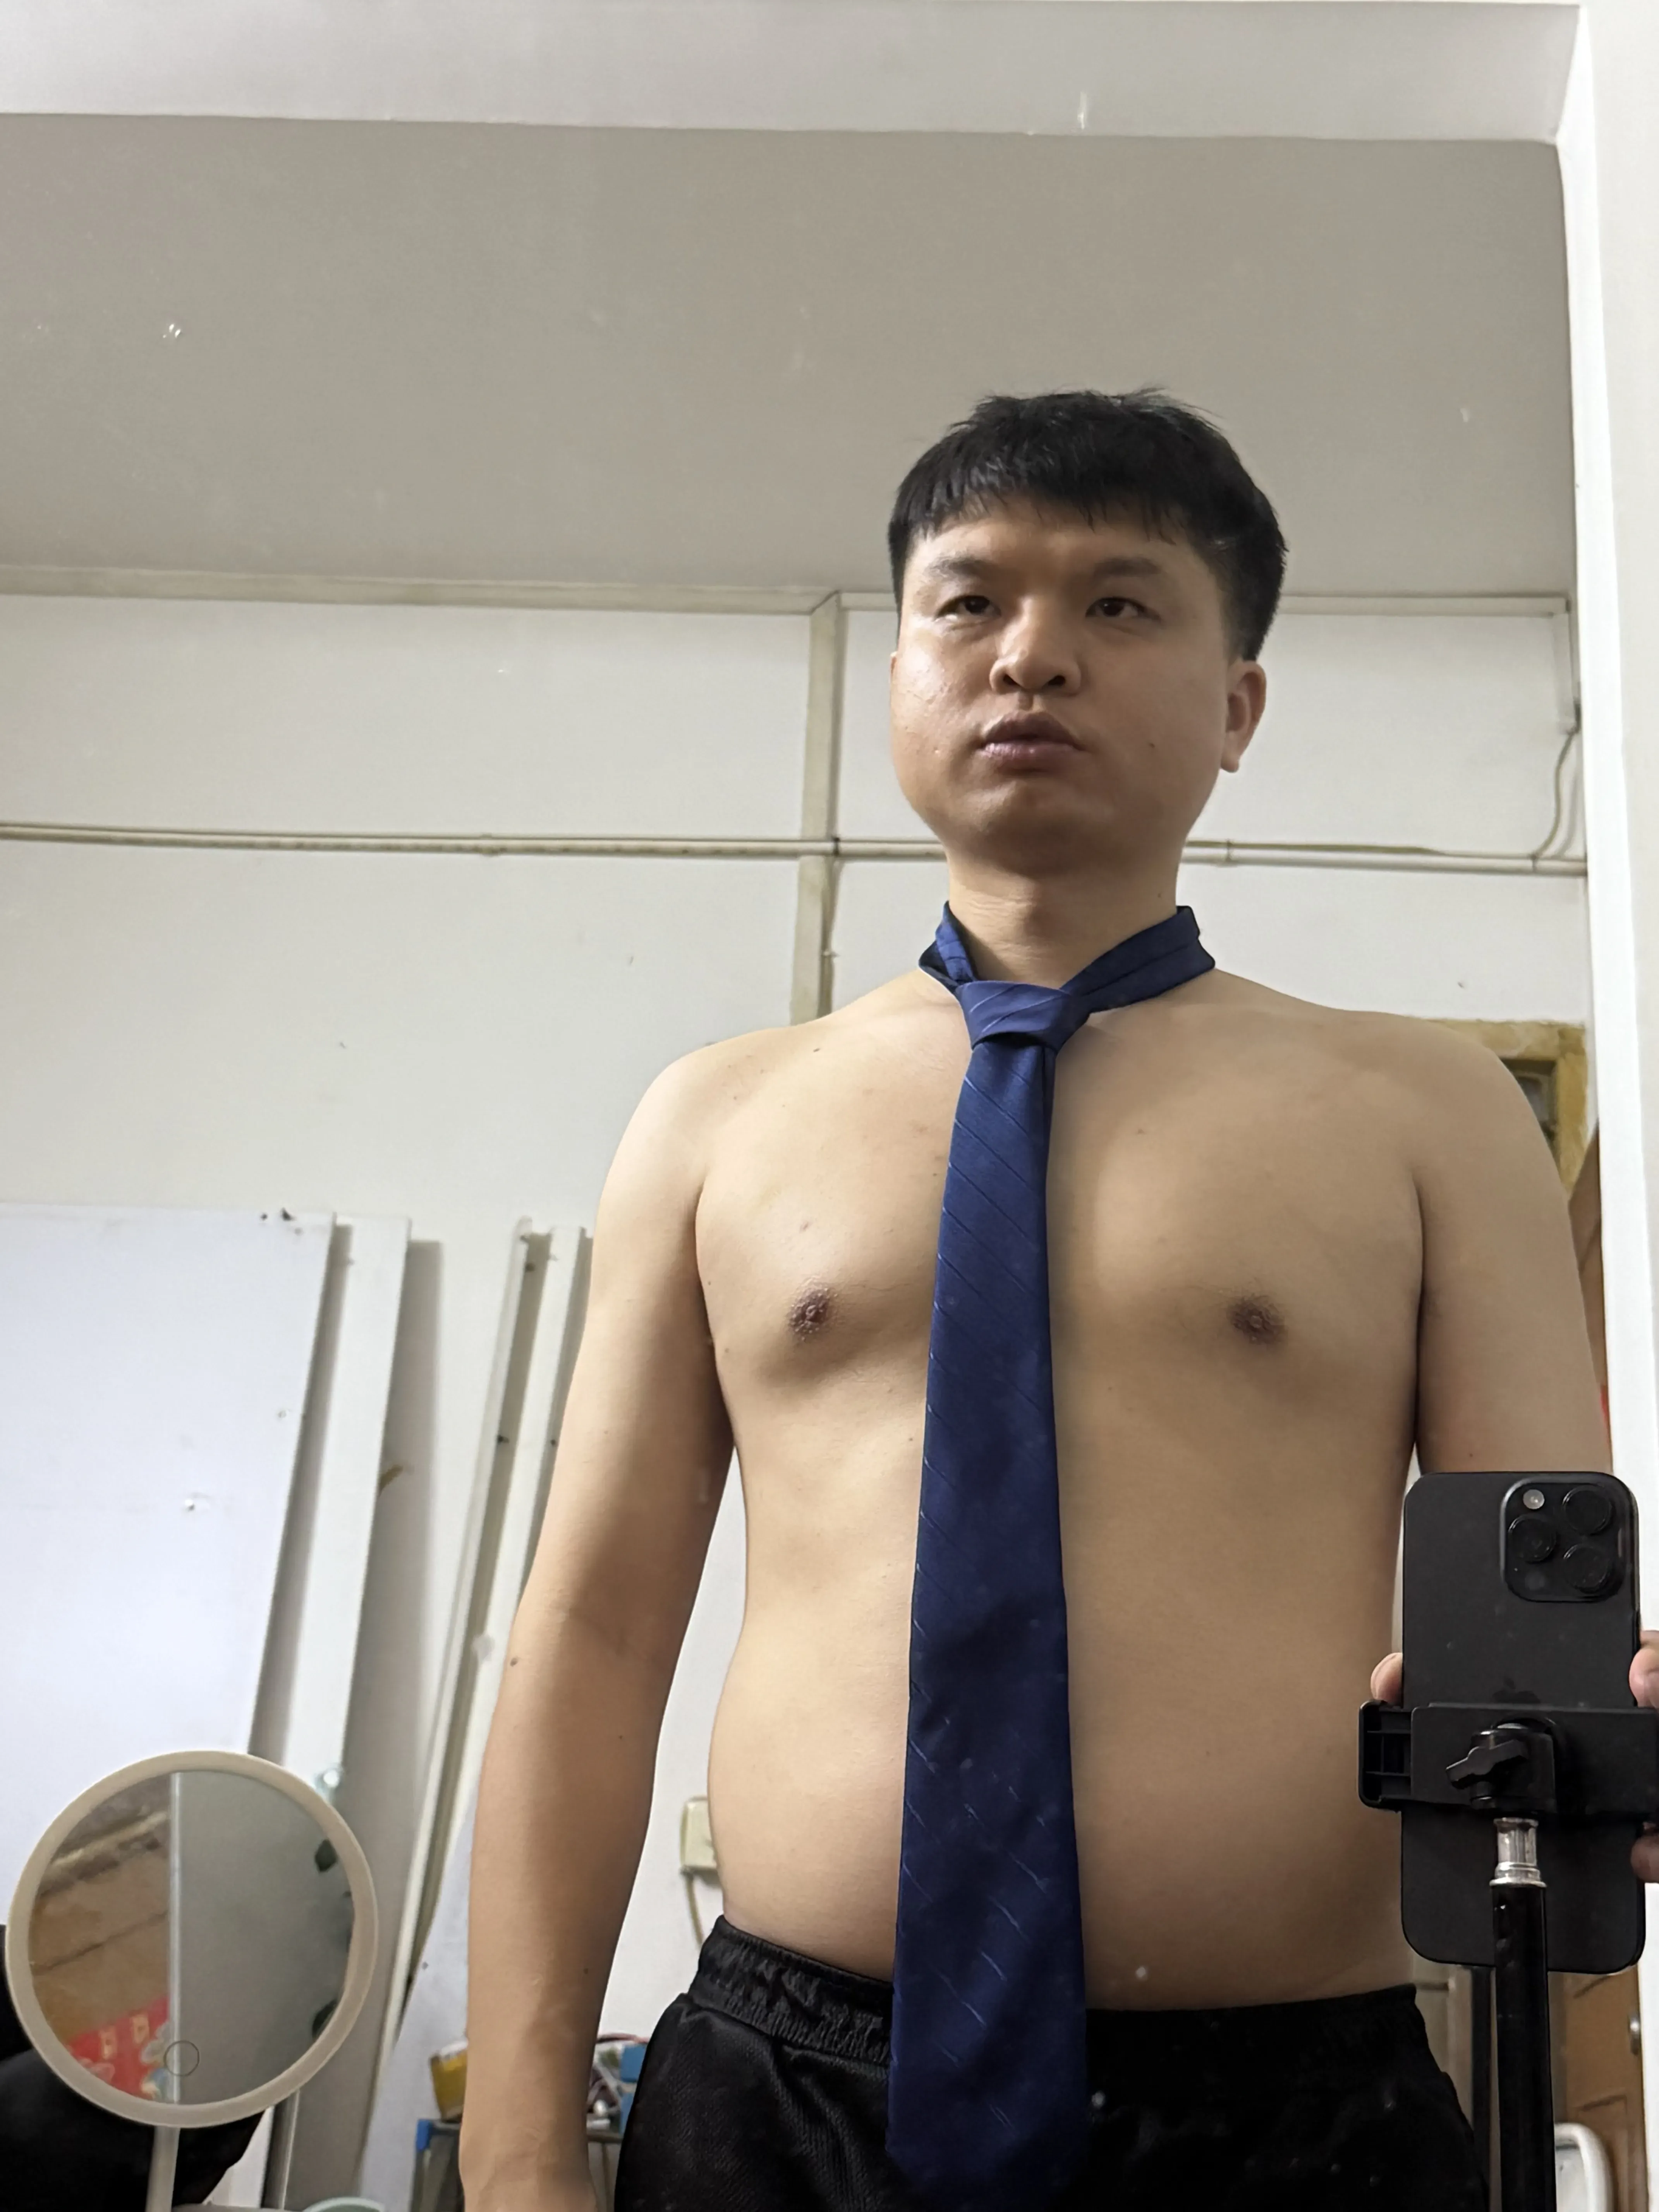
Congratulations! You've tied a Simple Knot.
Final check: The wide end should hang near your belt buckle, and the thin end should be hidden behind.
Want more details on the Simple Knot?
See Full Simple Knot Tutorial →Method 2
The Half Windsor creates a medium-sized, triangular knot. More professional than the Simple Knot, works well for business settings.
Wide end on RIGHT, hanging 12 inches lower than thin end.
Cross wide end OVER thin end, creating an "X" shape.
Wrap behind thin end, bring UP through neck loop.
Pull wide end DOWN, then cross to the RIGHT side.
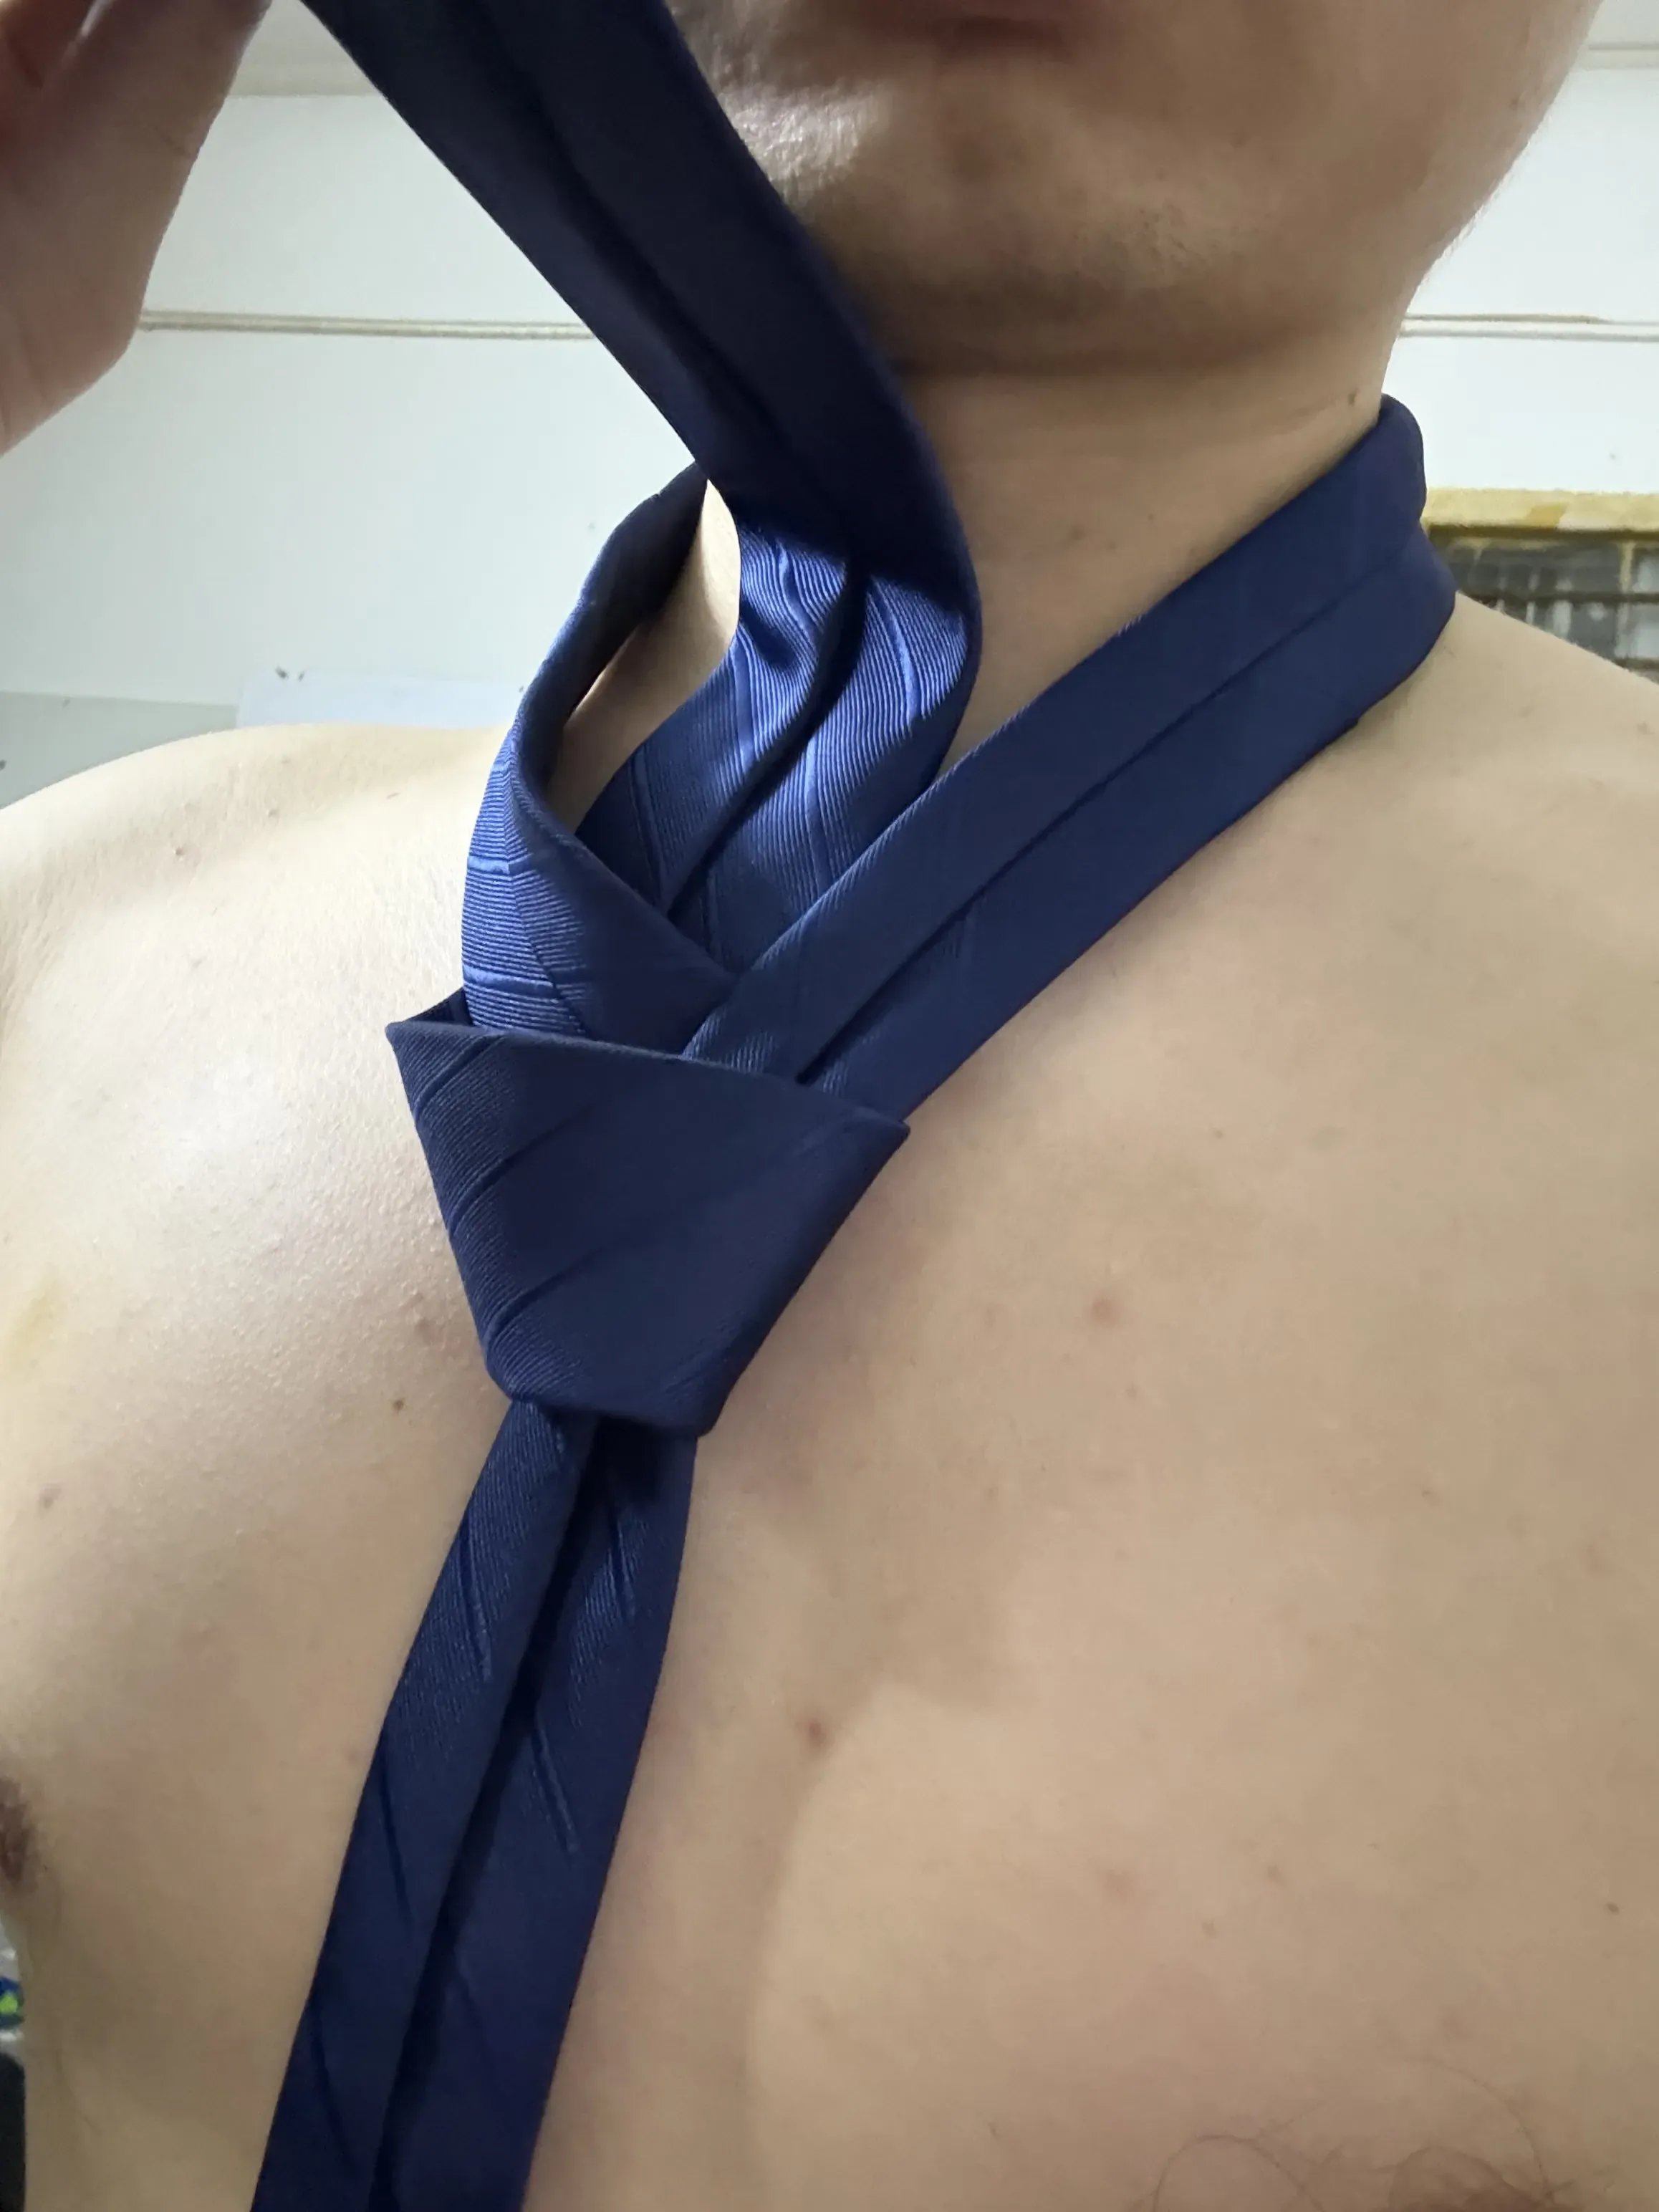
Wrap UP through loop again, front side facing you.
Thread DOWN through front knot, pull tight and adjust.
Method 3
The Windsor Knot creates a large, symmetrical, triangular knot. The most formal option — perfect for weddings and important events.
Important: Start with Extra Length
The wide end needs to hang 15-18 inches lower than the thin end because the Windsor uses more tie length. If you start with just 12 inches, your tie will be too short.
Wide end hanging 15-18 inches lower than thin end.
Cross wide end OVER thin end.
Bring wide end UP through neck loop, seam facing you.
Pull wide end DOWN to the LEFT side.
Bring wide end around FRONT of thin end, cross to RIGHT.
Bring wide end UP through loop from underneath.
Thread wide end DOWN through the triangular front loop.
Hold both ends, tighten, slide knot up to collar. Ensure symmetry.
Method 4
Bow ties add sophistication and are essential for tuxedos and formal black-tie events. Learning this skill sets you apart.
Place bow tie around neck. One end should hang 1-2 inches longer than the other.
Cross the longer end OVER the shorter end, creating an "X" at your neck.
Bring longer end UNDER shorter end, UP through neck loop, tighten slightly.
Take shorter end, fold into horizontal bow shape (like a "D" shape). Hold in place.
Drop longer end DOWN directly over the center of the bow you just created.
Fold longer end into bow shape, push BEHIND first bow through the small loop/gap.
Pull both ends to tighten. Adjust so both bow loops are equal size. Center between collar points.
Practice Tip
Bow ties are tricky at first. Practice 5-10 times before your event. Don't be afraid to use a pre-tied bow tie until you master the technique.
Occasion Guide
Daily office wear
Casual meetings
Date nights
Narrow collar shirts
Very formal events
Wide spread collars
Business meetings
Job interviews
Semi-formal events
Most collar types
Extra-wide spread collars
Very casual occasions
Weddings
Black-tie events
Important presentations
Wide spread collar shirts
Narrow collars (knot too big)
Casual settings
Tuxedos
Black-tie weddings
Academic events
Fashion-forward occasions
Business casual
Most day-to-day settings
Avoid These
Problem: The wide end isn't low enough, resulting in a too-short tie after knotting.
Fix: Start with the wide end 12-18 inches lower than the thin end (more for Windsor).
Problem: Creating a tight knot before sliding it to your collar makes adjustment difficult.
Fix: Keep the knot loose while wrapping, tighten only at the final step.
Problem: The knot sits off-center between collar points.
Fix: Before final tightening, hold the thin end and gently slide the knot until centered.
Problem: The thin end hangs lower than the wide end or shows from behind.
Fix: After tightening, check that the thin end stays hidden. If too long, adjust your starting position.
Problem: Twisting the tie during knotting creates wrinkles.
Fix: Keep the tie flat throughout the process. Don't twist or flip unnecessarily.
Problem: Large Windsor knot on narrow collar looks unbalanced.
Fix: Match knot size to collar spread: narrow collars = Simple knot; wide collars = Windsor.
Expert Advice
Practice with a mirror until you can do it without looking.
Re-tighten your knot after lunch if it loosens.
Always loosen and un-tie by reversing the steps. Never pull it off still tied—this damages the fabric.
Hang ties or roll them loosely. Never fold them sharply.
The knot style sends a message—choose appropriately.
Use an inexpensive tie for your first practice sessions.
Size Guide
| Height | Ideal Tie Length |
|---|---|
| Under 5'7" (170cm) | 57 inches (short tie) |
| 5'7" - 6'0" (170-183cm) | 57-58 inches (standard) |
| Over 6'0" (183cm) | 60-63 inches (extra long) |
Quick check: The tip of your tie should reach your belt buckle, not above or below.
FAQs
A: Start with the Simple Knot (Four-in-Hand). It's the easiest and works for most occasions. Once mastered, learn the Half Windsor for more professional settings.
A: You probably started with the wide end too high. Begin with a larger length difference—12 inches for Simple Knot, 18 inches for Windsor.
A: Most people can tie a Simple Knot within 10 minutes of practice. Windsor and Bow Tie may take 30-60 minutes to master.
A: Yes, tie clips are optional. They're mainly for keeping the tie in place during movement. For formal photos or presentations, a tie clip adds polish.
A: This usually means your collar is too loose or the knot isn't tight enough. Ensure your collar buttons are secure and tighten the knot properly.
A: Your tie should complement, not match exactly. Solid ties work with patterned shirts; patterned ties work with solid shirts. Avoid clashing patterns.
Learning how to tie a tie is a life skill every man should master. Start with the Simple Knot for everyday use, progress to the Half Windsor for business, and master the Windsor for formal occasions.
Remember: Practice makes perfect. Spend 15 minutes today practicing, and you'll tie a perfect knot confidently before your next important event.
Find Your Perfect Knot →